Receive crypto in Trezor Suite
Setting up the account
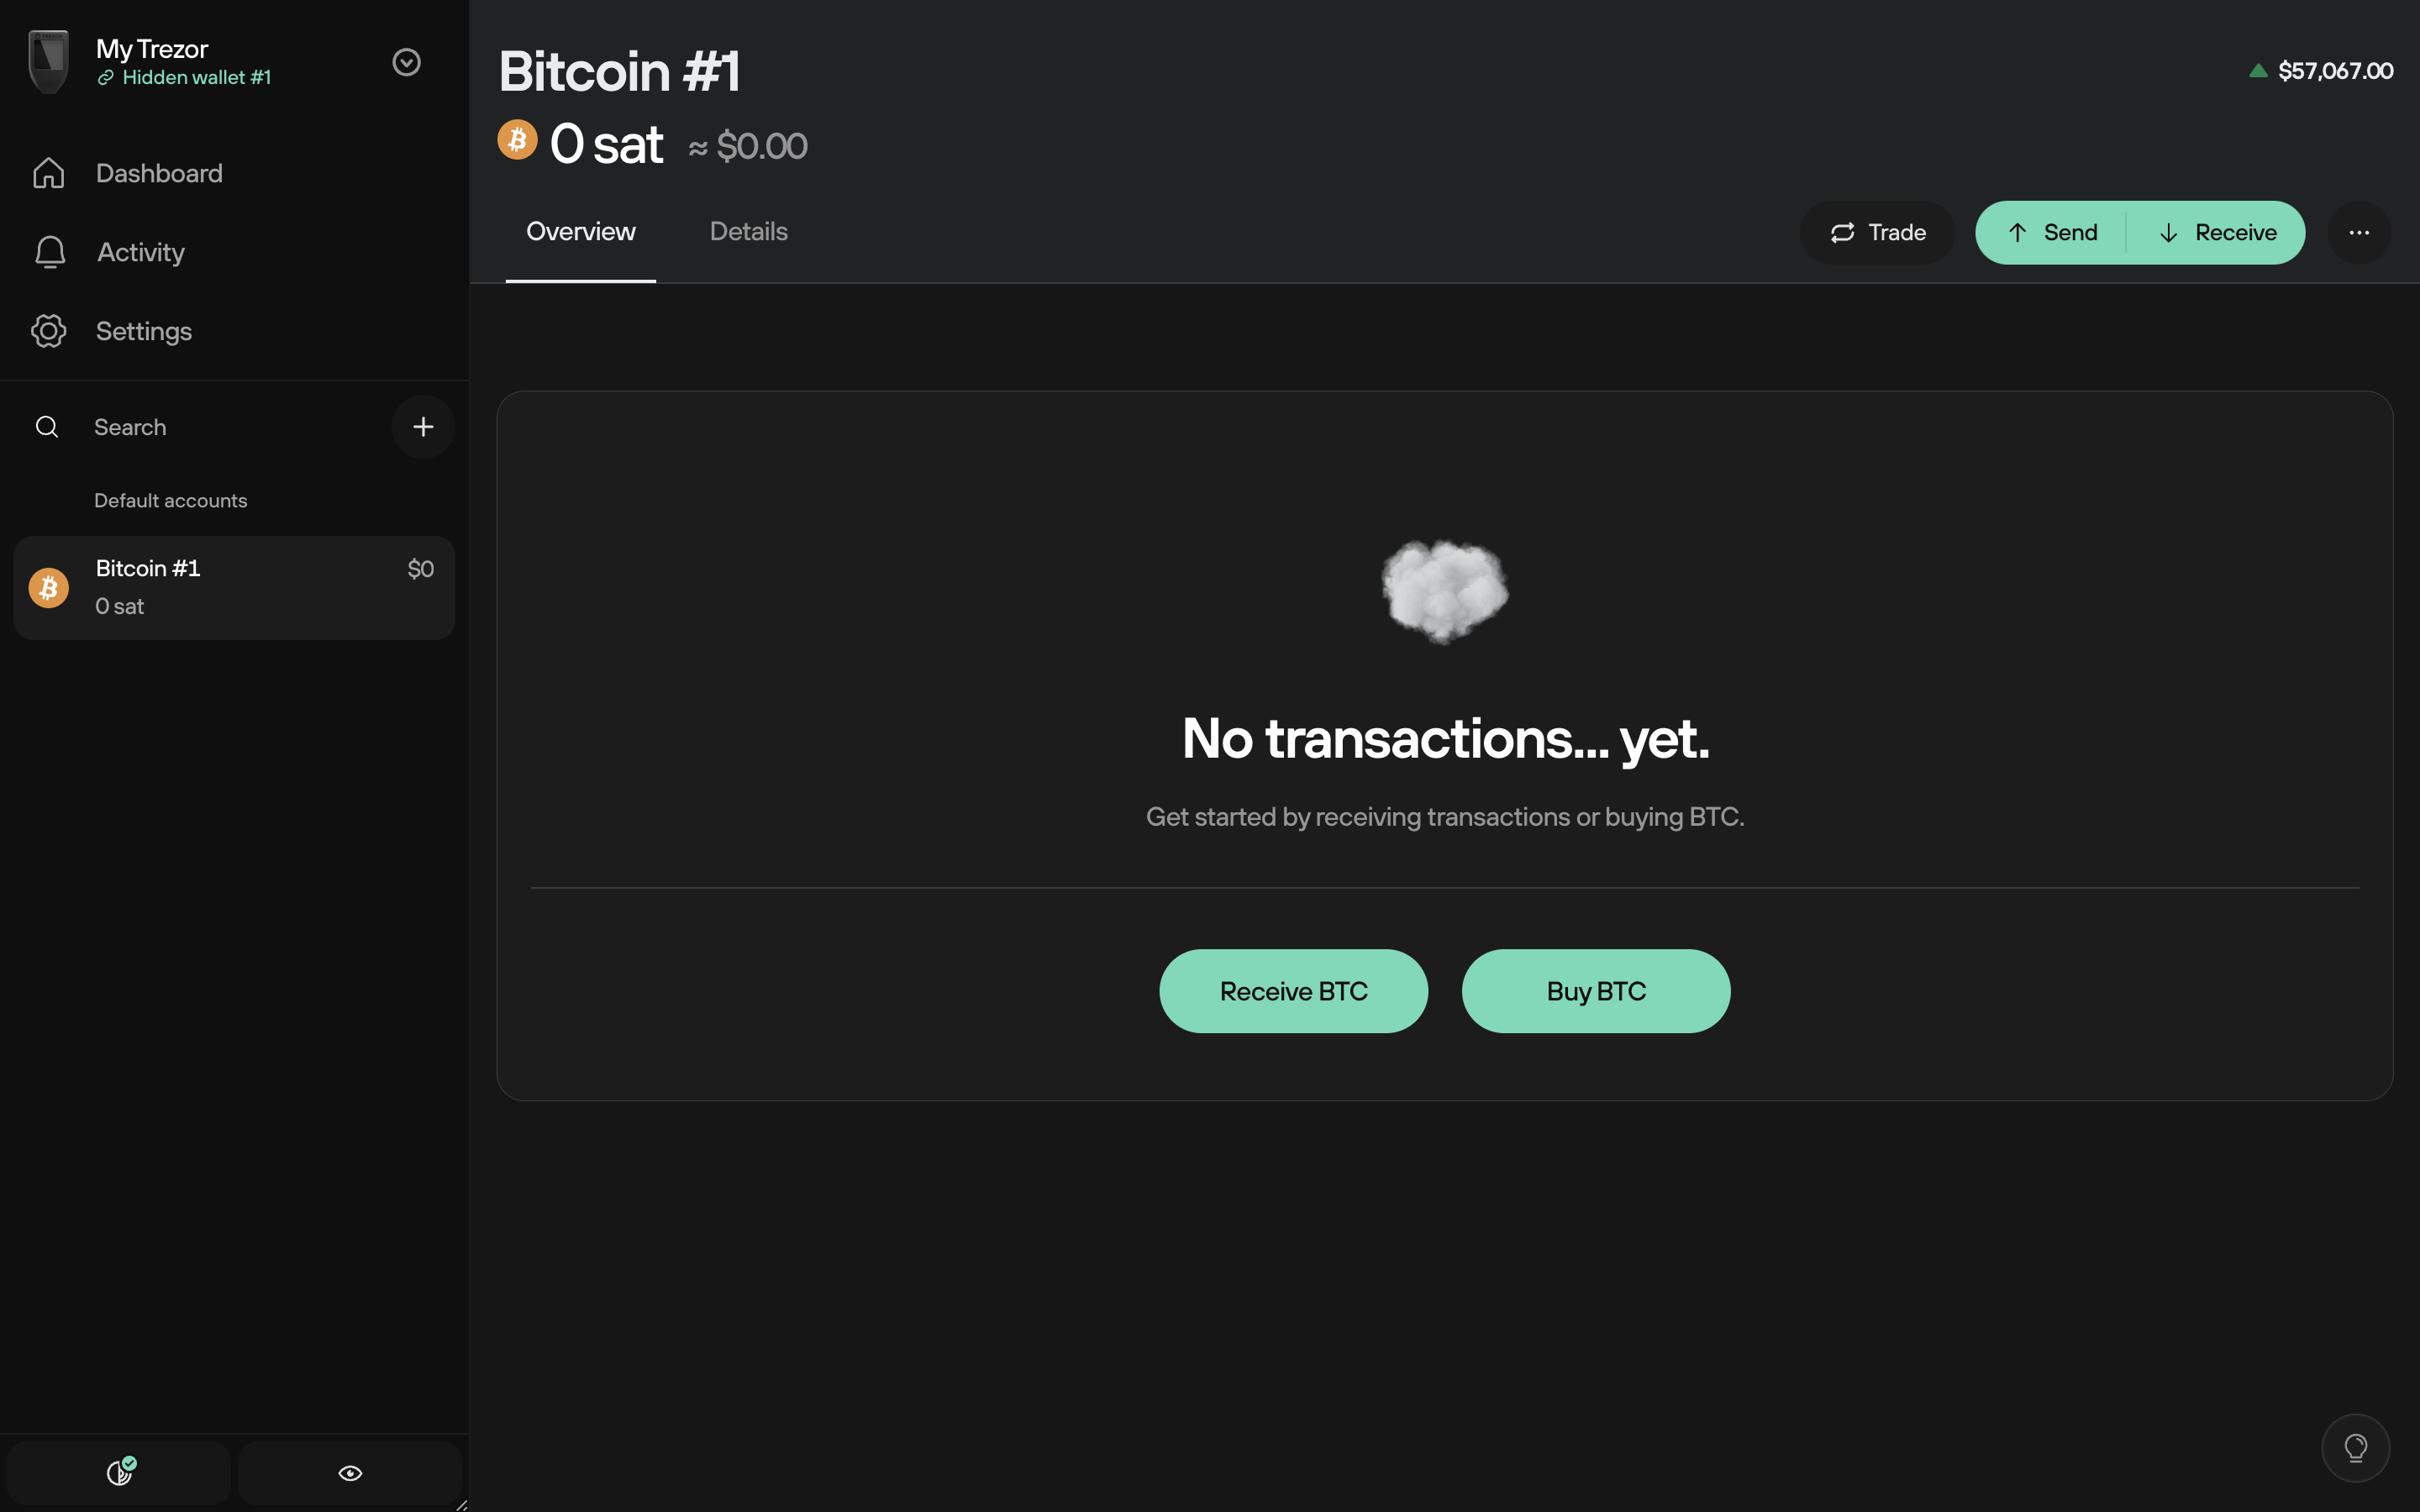
- You can see your cryptocurrency accounts on the left-hand side of the screen, and enter the detailed view of each account by clicking on it
- If you enabled Bitcoin (only) during device initialization, you will see an empty account called Bitcoin #1:
- If you enabled multiple cryptocurrencies during the initialization procedure, they will each have an associated 'Account #1' in the My accounts menu bar
- Remember, you can easily enable or disable different coins in the Coins settings menu
ERC20 tokens can be received using an Ethereum account.
Polygon tokens can be received using a Polygon account.
Solana tokens can be received using a Solana account.
A number of other cryptocurrencies can also be accessed using third-party wallets. For a full list of supported cryptocurrencies, click here.
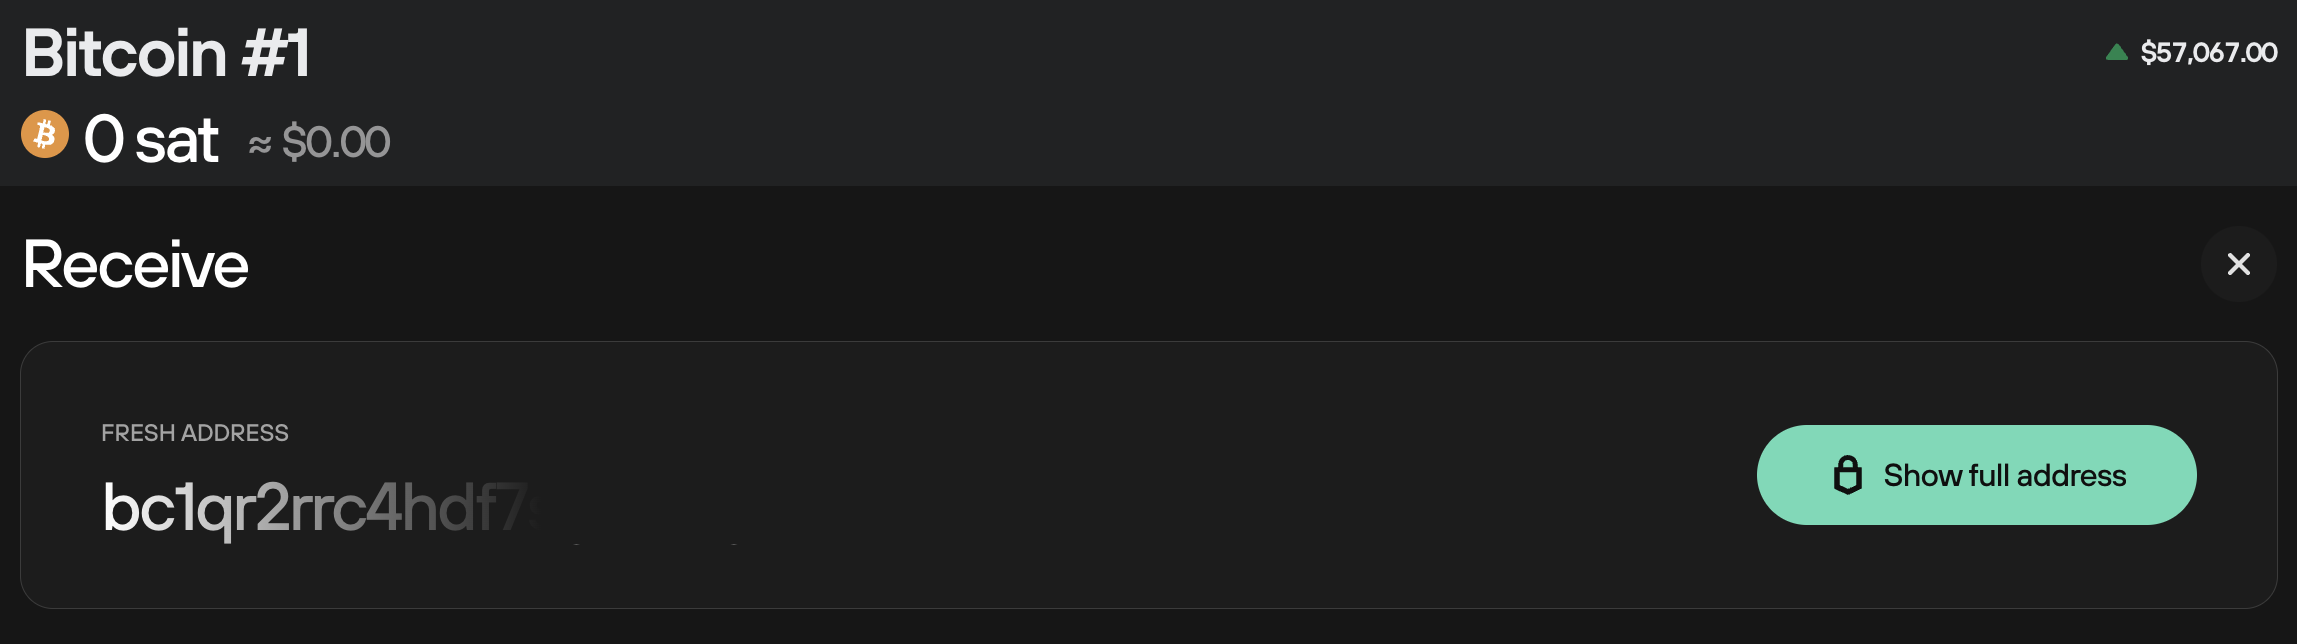
- Click Receive then Show full address to reveal your first receiving address:
Confirm on your Trezor device
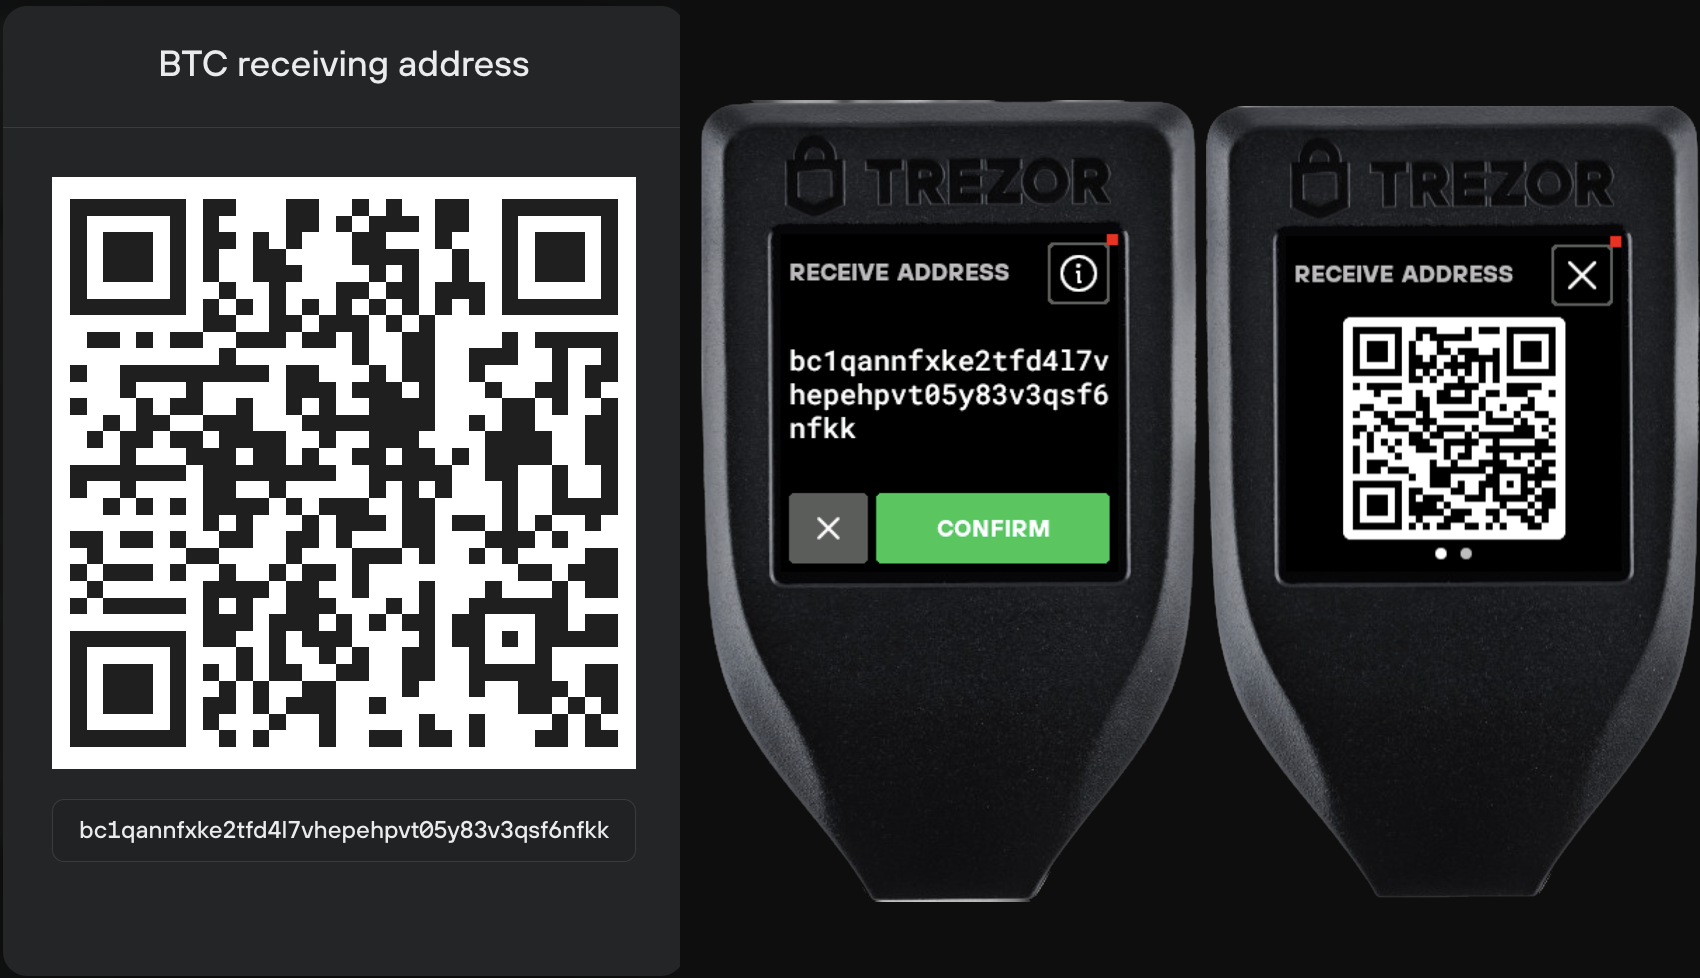
You will be asked to check and confirm the address on your Trezor:

Carefully compare the receive address you copy & paste with the one shown on your Trezor device. If they are different, your computer may be infected by malware. The address shown on your Trezor device screen will always be one belonging to you.
Display the address as a QR code
To display the address in the form of a QR code, press the QR button on your Trezor device (before pressing the green check mark to confirm the address). The QR code will then be displayed both on your Trezor device and in Trezor Suite.
You can cycle between 'Address' and 'QR' formats by pressing the 'Address' or 'QR' button on the device.
To receive a transaction on addresses generated by the Trezor device, the device itself does not need to be powered-on or connected. Once you generate a receiving address, you can write it down or print it, and later use it to receive transactions at any time. Using the device is later required only to spend any currency received to the address.
Generating multiple addresses
You can use the Show full address button repeatedly to generate multiple receiving addresses. This can help you keep track of your payments as well as maintaining a higher level of privacy. For additional privacy, read also: Using multiple accounts.
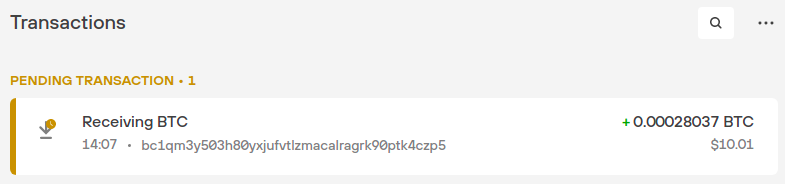
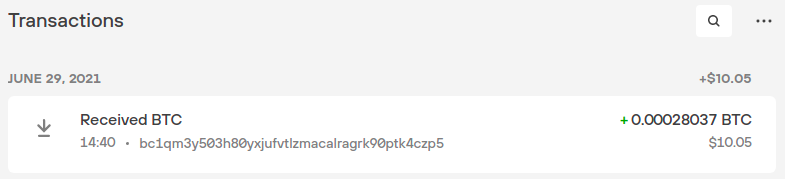
Transaction confirmation
Now you can provide your newly generated address to receive funds. When someone makes a payment to you, you will see it in your transaction panel. At first, it will appear as unconfirmed. After the transaction gets its first confirmation in the network, you will see the "unconfirmed" text replaced by the time of the confirmation. You can always double-check the status of your transaction in a blockchain explorer by clicking on the confirmation time.
You can send your newly received funds even before the first confirmation. However, we strongly recommend waiting until the transaction has confirmed multiple times (three to six confirmations is considered safe for Bitcoin transactions). Confirmation times vary based on the transaction fee used and the state of the network.