Trezorctl on Windows
trezorctl commands are tools written in the Python programming language that can be used with the Trezor device using the command line client.
Installation
Prerequisites
Make sure Trezor Bridge is installed and that your Trezor device is visible on the status page: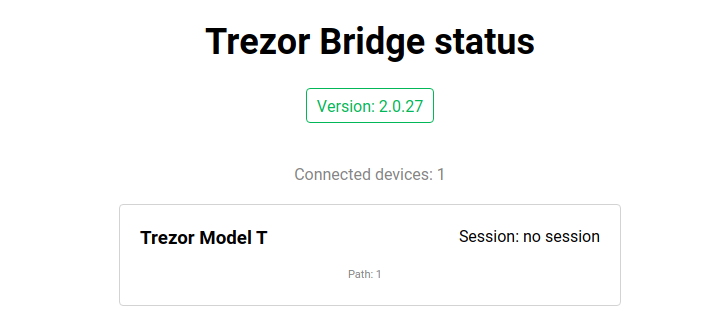
Installing Python
You will need to download Python version 3.5 or later.
You can download the 64-bit installer directly here.
Alternatively, navigate to Python releases for Windows and select your preferred installer version.
When the download is finished, run the installer.
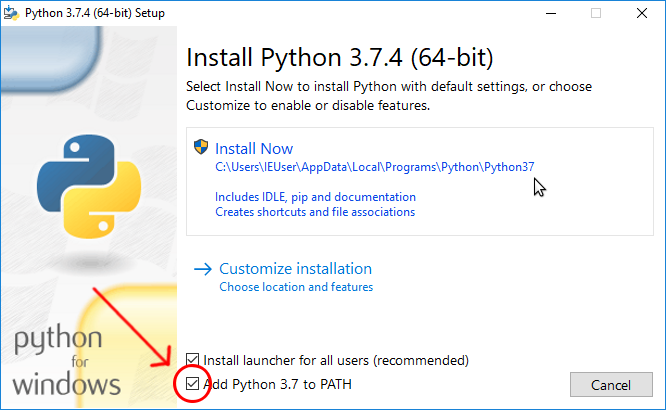
Python installation configuration
Make sure the "Add Python 3.7 to PATH" option is checked. Then click "Install Now".
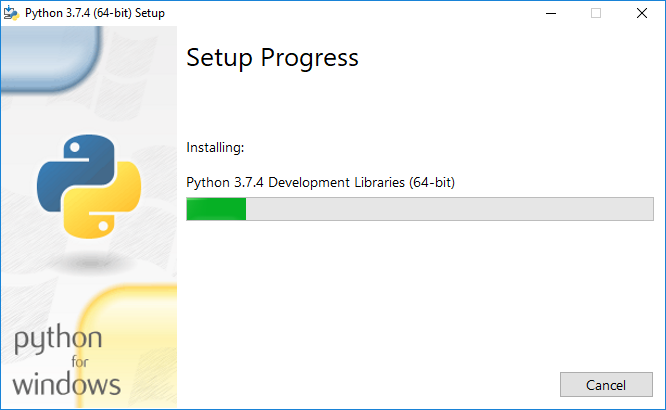
Wait until the installation completes.
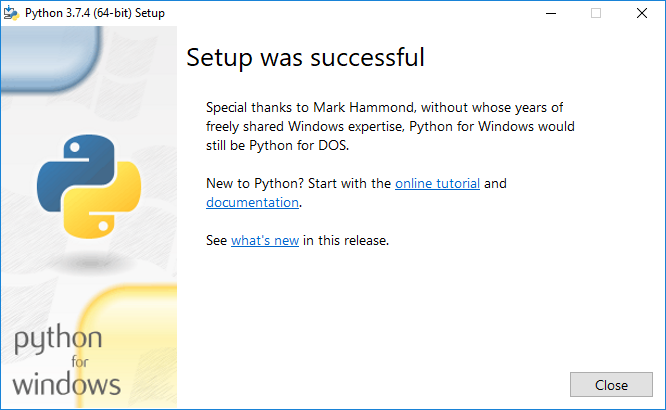
Installation complete!
Installing trezorctl
Wait until the Python installer has finished.
If you open the Command Prompt window before the installation is complete, the necessary commands will not be available. You will need to close the window and open it again.
Step 1: Press Win+R to open the "Run" dialog.
Type cmd into the dialog and press Enter, or click "OK".
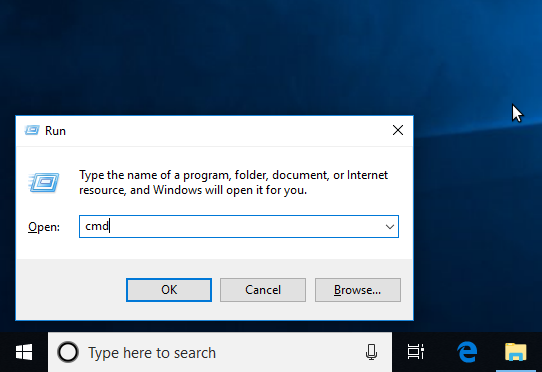
Windows Run dialog
Step 2: At the Command Prompt, enter the following command:
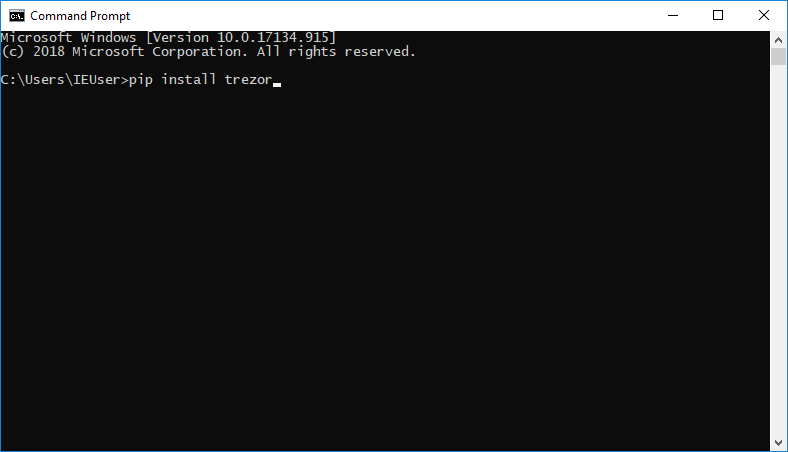
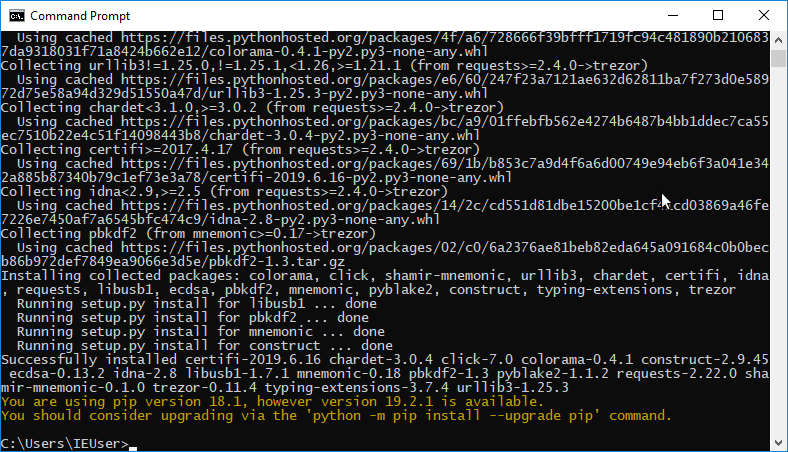
Step 3: Wait until the installation finishes.
Step 4: Try some sample commands.
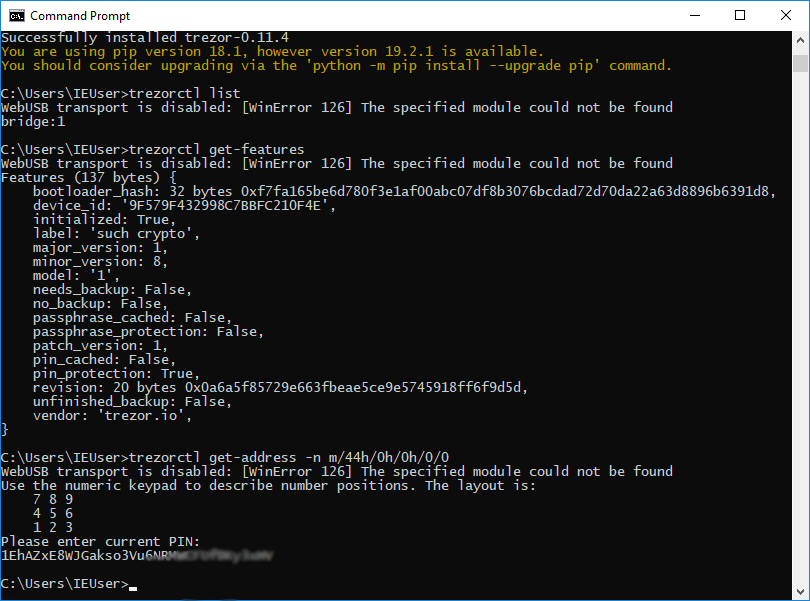
Note that the following error might be displayed on Windows:
If Trezor Bridge is installed and functioning, you can ignore this error.
Running trezorctl
When you need to run trezorctl again, just open the Command Prompt and type your trezorctl command.
Step 1: Press Win+R to open the "Run" dialog.
Step 2: Type "cmd" into the dialog and press Enter, or click "OK".
Step 3: Type trezorctl commands